Billing runs
A billing run is a bulk invoice-generation job. Instead of creating invoices one by one, a billing run automatically generates invoices for a defined group of students in a single operation. You run billing at the start of each term (or whenever fees are due).
Navigation: Finance → Billing Runs
How billing runs work
- You specify a term, a fee structure, and a student scope (all students, a grade, a class, etc.)
- The system previews the full list of students who will be billed and the amount each will owe
- You confirm the run
- Individual invoices are created automatically for each student
Billing runs page
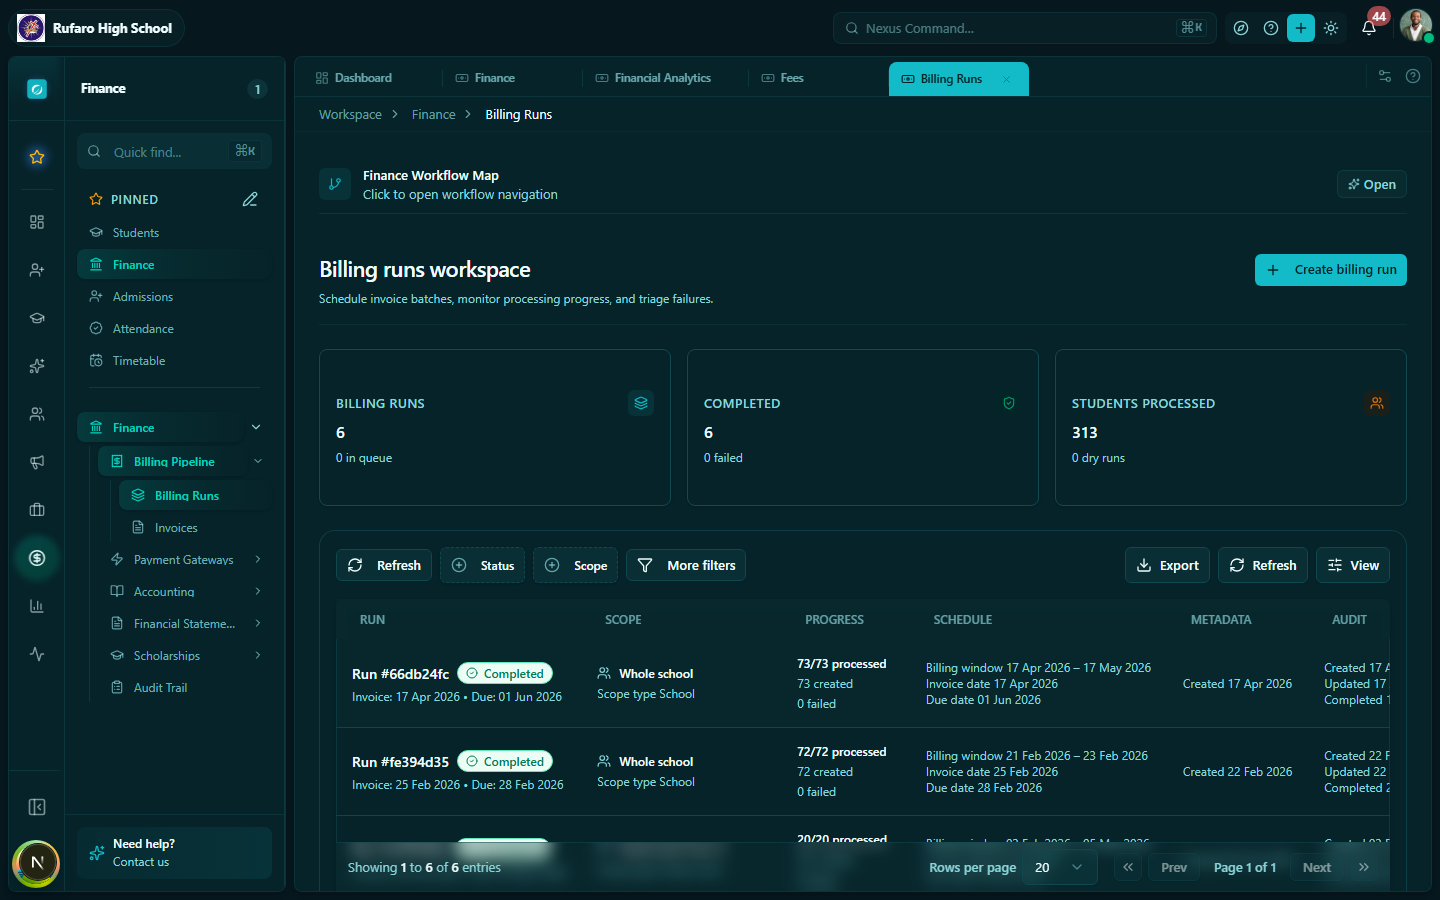
Each billing run shows:
| Column | Description |
|---|---|
| Run name | Auto-generated or custom label |
| Term | The academic term this run covers |
| Fee | The fee structure that was billed |
| Status | Draft → Processing → Completed / Failed |
| Students billed | How many invoices were generated |
| Total amount | Sum of all invoices in this run |
| Created | Date and user who created the run |
Creating a billing run
- Click + New billing run
- Fill in the form:

| Field | Required | Description |
|---|---|---|
| School | ✓ | The school to bill (multi-school accounts) |
| Term | ✓ | Select the academic term (e.g., Term 1 2026) |
| Fee structure | ✓ | Choose the fee to bill (e.g., Term Tuition Fee) |
| Scope | ✓ | All students, specific grade, stream, or class |
| Invoice date | ✓ | Date that appears on the generated invoices |
| Due date | ✓ | Payment deadline shown on invoices |
| Reference / notes | Optional | Internal reference for this run |
- Click Preview to see the student list before committing
Previewing a billing run
Before confirming, the preview screen shows:
- Students to be billed — full list of matching students
- Skip conditions — students who already have an invoice for this fee/term will be highlighted and skipped automatically to prevent duplicate billing
- Total invoices to create — count and sum of new invoices
- Students excluded — students excluded due to duplicate detection, inactive status, or manual override
Always review the preview carefully. Check that the student count matches your expectations. If a student is missing, check that they are enrolled in the correct class and that their status is Active.
Confirming the billing run
- Review the preview
- Click Confirm & generate invoices
- The run switches to Processing status
- When complete, the status changes to Completed and the invoice count is updated
For large schools (hundreds of students), the run may take a few seconds to a minute. Refresh the page to check progress.
Monitoring run status
| Status | Meaning |
|---|---|
| Draft | Run created but not yet confirmed |
| Processing | Invoices are being generated |
| Completed | All invoices created successfully |
| Partially completed | Some invoices created; see errors for failures |
| Failed | No invoices created; check the error log |
Viewing the generated invoices
From a completed billing run:
- Click on the run row to open its details
- Click View invoices to see all invoices created by this run
- From there you can filter, send, or mark invoices individually
Re-running for a subset of students
If some students were skipped (e.g., late enrolments), you can run a new billing run for just those students by scoping to a specific class or selecting Manual / Ad-hoc scope and choosing individual students.
Cancelling a billing run
- A Draft run can be deleted before it is confirmed
- A Completed run cannot be undone — instead, cancel individual invoices from the Invoices page
Best practices
- Run billing at the start of each term before sending communication to parents
- Check for duplicates — use the preview to confirm students aren't being double-billed
- Set a realistic due date — give parents at least 2 weeks from invoice date
- Notify parents after the run — use the Communications module to send a bulk SMS or email linking to their invoices