Accounting
The Accounting area covers everything after money is received — how it is recorded in your books, how expenses are tracked, how bank statements are imported and reconciled, and how cash is managed. It is primarily used by the school bursar or accountant.
General Ledger
Navigation: Finance → General Ledger
The General Ledger (GL) is the master record of all financial transactions at your school. Every payment, fee, and expenditure is posted to the GL as a double-entry bookkeeping record (debit and credit).
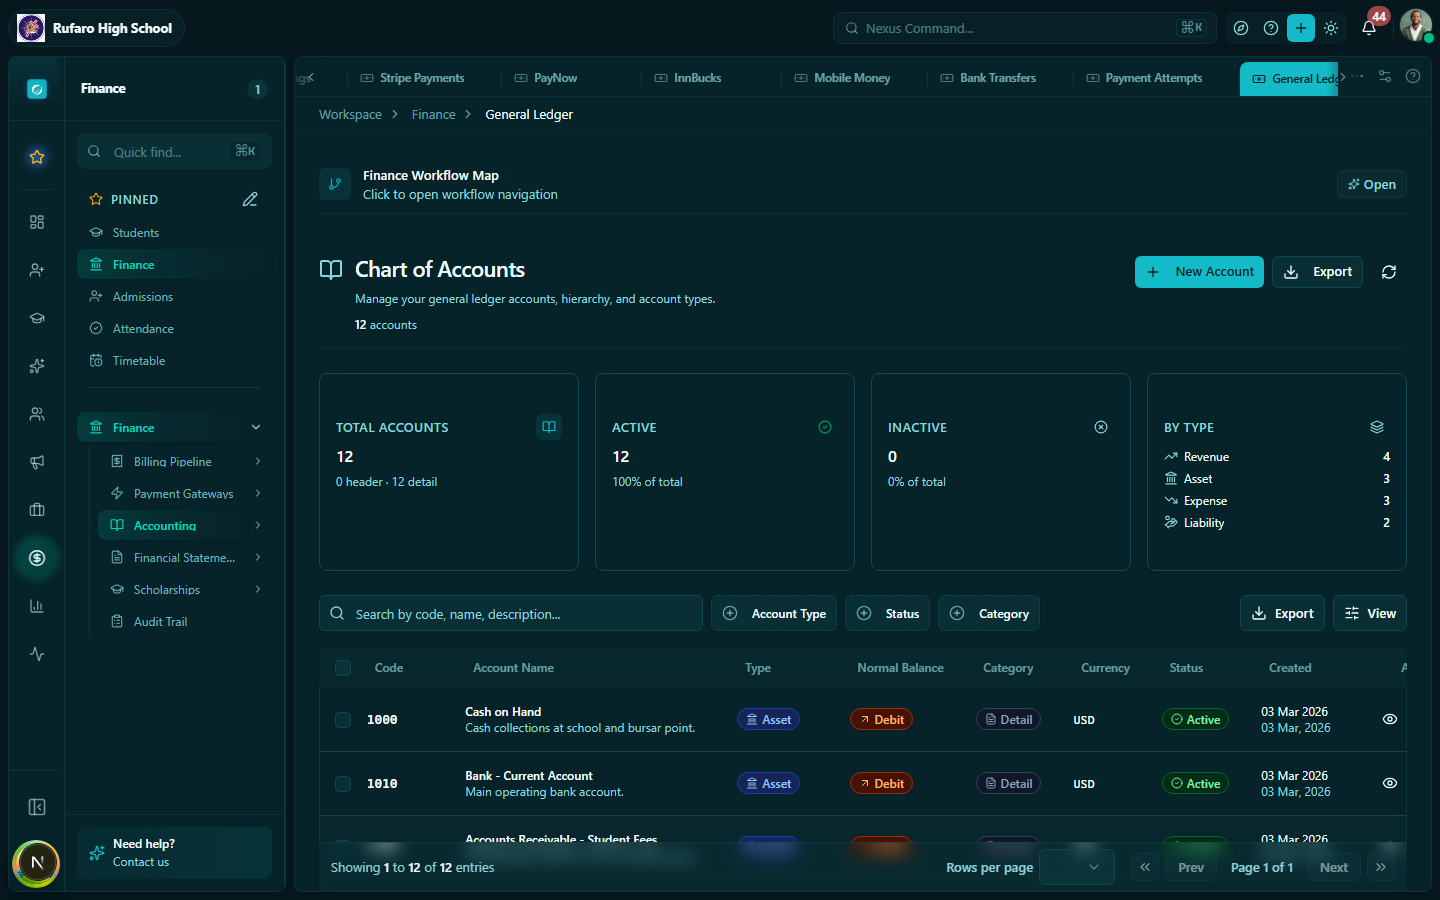
Chart of accounts
The chart of accounts defines the categories into which transactions are classified:
| Account type | Examples |
|---|---|
| Revenue | Tuition income, Exam fees, Registration fees |
| Expenses | Salaries, Utilities, Stationery, Maintenance |
| Assets | Cash at bank, Accounts receivable |
| Liabilities | Accounts payable, Deposits received |
| Equity | School fund, Surplus/deficit |
Viewing GL entries
- Open Finance → General Ledger
- Select an account from the chart of accounts
- The transactions panel shows all entries posted to that account
- Filter by date range to see a specific period
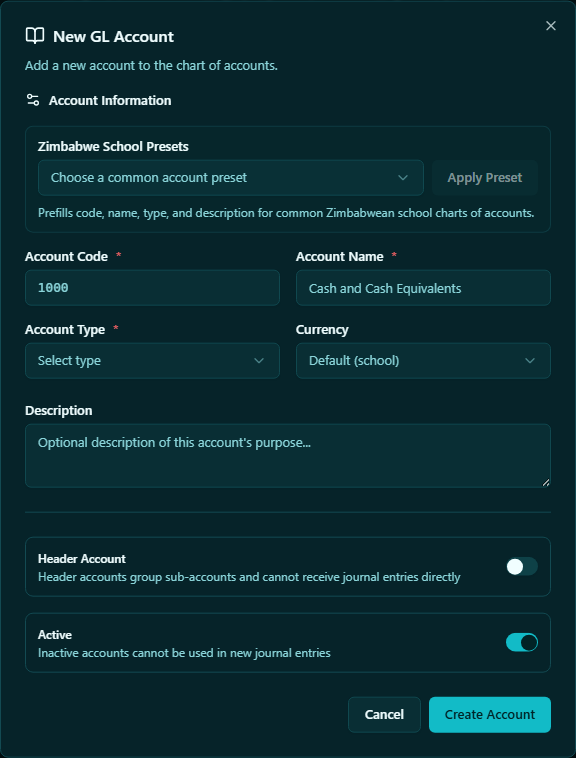
Managing the chart of accounts
To add a new account to the chart of accounts:
- Click + New account
- Select the account type (Revenue, Expense, Asset, Liability, Equity)
- Enter the account code and name
- Click Save
Manual journal entries
For adjustments or corrections that cannot be handled through the normal payment flow, you can post a manual journal:
- Click + New journal entry
- Enter the debit account, credit account, amount, date, and description
- Click Post
Manual journal entries directly affect your financial reports. Only use them if you understand double-entry bookkeeping, and ensure every debit has a matching credit.
Cashbook
Navigation: Finance → Cashbook
The Cashbook records all cash receipts and cash disbursements. It mirrors the school's physical petty cash register and main cash account.
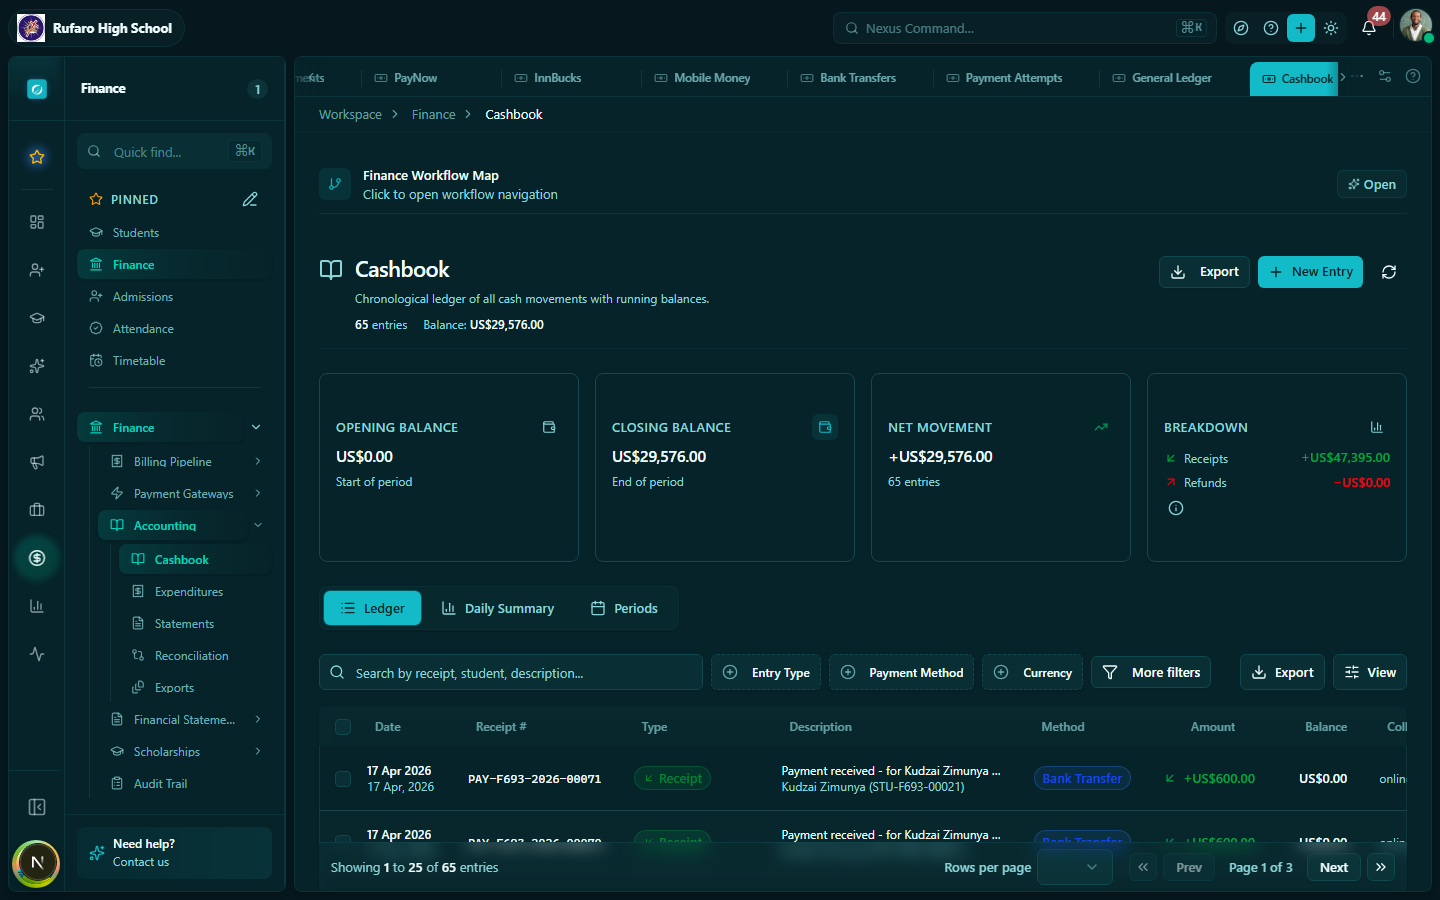
Cashbook entries
Cash payments recorded in Finance → Payments are automatically posted to the cashbook. You can also add manual cashbook entries for:
- Petty cash disbursements (small expenses paid from the cash tin)
- Cash received from sources not in the system (e.g., rental income)
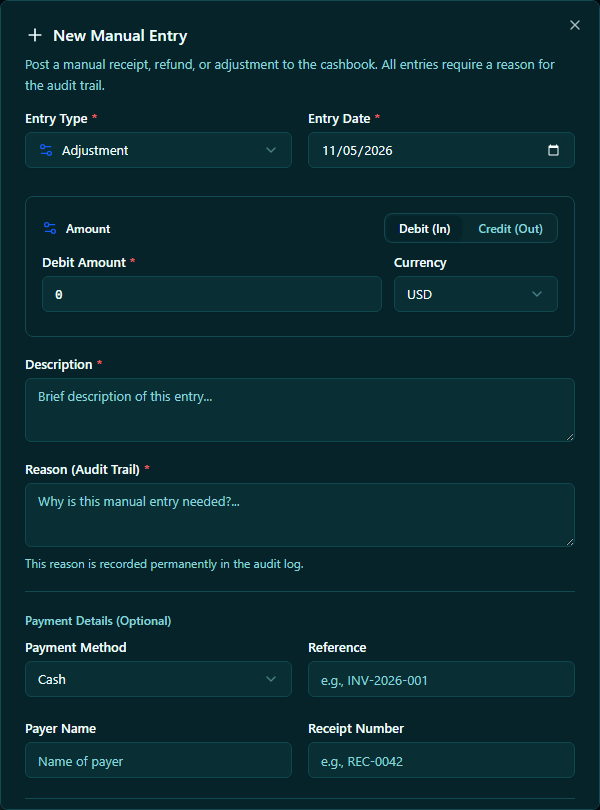
Adding a cashbook entry
- Click + New entry
- Select Receipt (money in) or Payment (money out)
- Enter: date, description, amount, GL account to post to
- Click Save
Closing the day's cashbook
At end of day, review the cashbook balance:
- Filter to today's date
- Compare the running balance to the physical cash on hand
- If it matches, the day is balanced
- If there's a discrepancy, investigate missing entries or recording errors
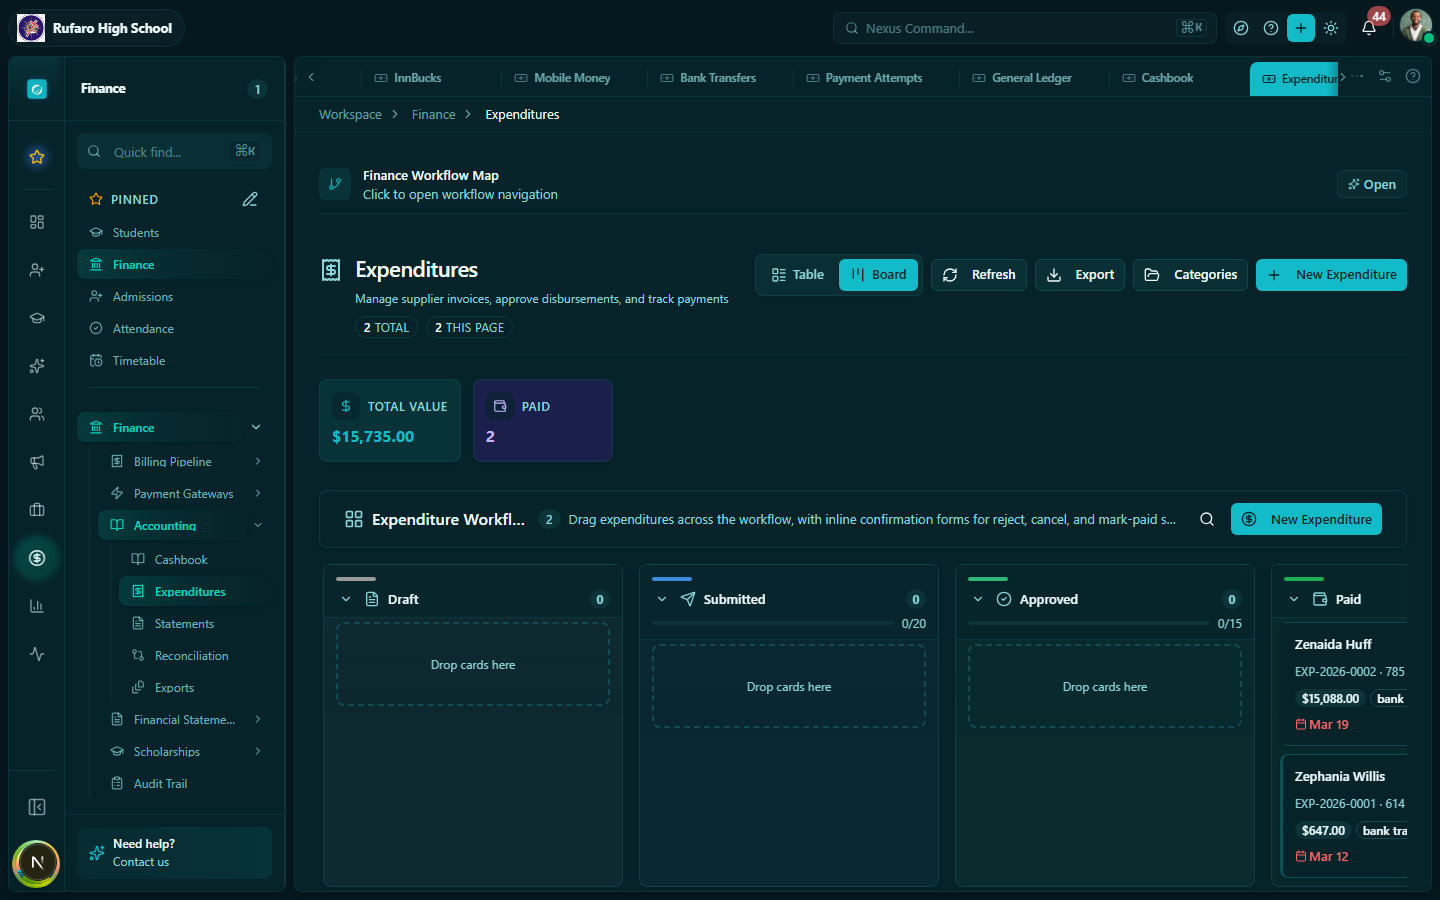
Expenditures
Navigation: Finance → Expenditures
The Expenditures module manages money flowing out — supplier invoices, operational expenses, and approval workflows for purchases.
Recording an expenditure

- Click + New expenditure
- Enter:
- Supplier / Payee — who the payment is to
- Description — what the expense is for
- Category — e.g., Utilities, Stationery, Maintenance, Salaries
- Amount and currency
- GL account — which account to debit
- Invoice / receipt reference — supplier invoice number
- Date incurred and due date
- Attach a scanned receipt or invoice (optional)
- Click Save
Expenditure approval workflow
Depending on configuration, expenditures above a certain amount may require approval:
| Status | Meaning |
|---|---|
| Draft | Created; not yet submitted |
| Pending approval | Submitted for approval by the head/bursar |
| Approved | Approved and ready to pay |
| Rejected | Returned with comments; must be revised |
| Paid | Payment has been disbursed |
Marking an expenditure as paid
- Open the approved expenditure
- Click Mark as paid
- Enter payment details (date, reference, bank account used)
- Click Confirm
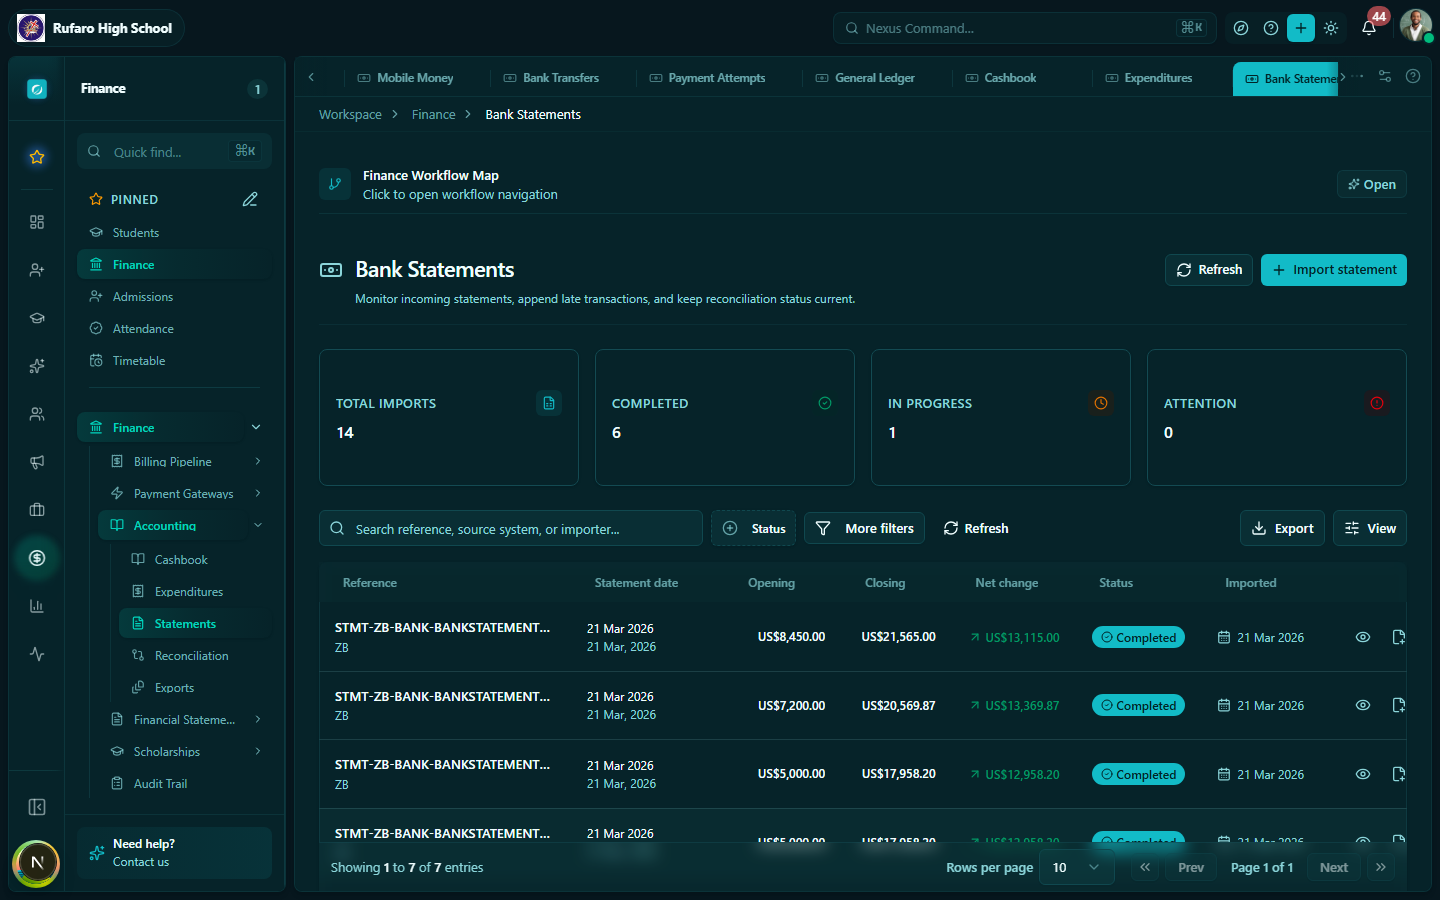
Bank statements
Navigation: Finance → Statements
Bank statements are the official records from your bank showing all transactions for an account during a period. Importing them allows the system to automatically match bank transactions to recorded payments.
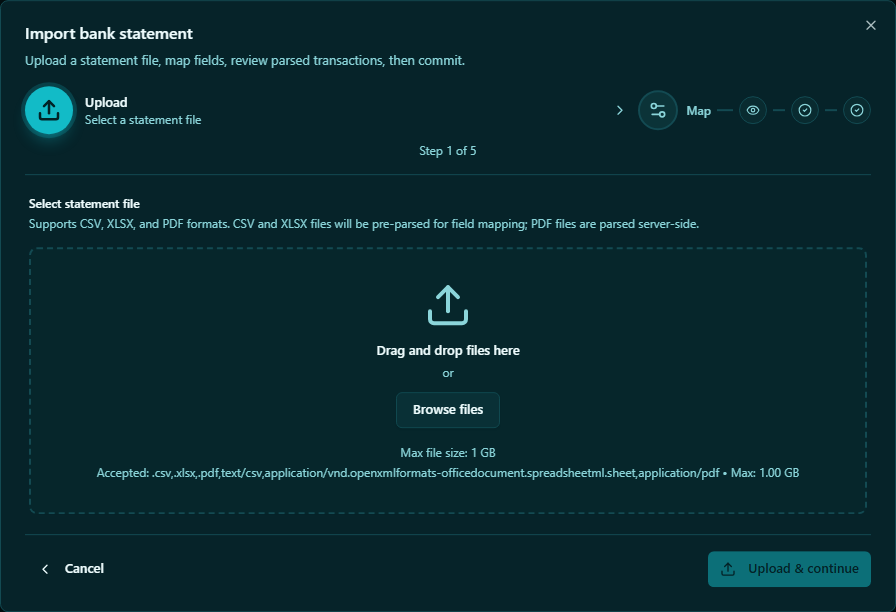
Importing a bank statement
- Click + Import statement
- Select the bank account this statement is for
- Upload the statement file:
- CSV — most banks offer CSV export from internet banking
- OFX / QFX — Open Financial Exchange format
- Review the preview of transactions detected
- Click Import
Statement matching
After import, the system tries to automatically match each bank transaction to a recorded payment or expenditure using:
- Amount
- Date (within a few days)
- Reference / description text
Matched entries are shown in green. Unmatched entries need manual review.
Resolving unmatched entries
- Open the imported statement
- Click on an Unmatched entry
- Choose one of:
- Link to existing payment — find and select the matching payment record
- Create new payment — if the payment was not yet recorded
- Mark as other income / expense — for non-student transactions (e.g., bank interest, charges)
- Ignore — if the entry is a transfer between accounts (not a real income/expense)
Reconciliation
Navigation: Finance → Reconciliation
Reconciliation is the process of confirming that your system's records match your bank statement, ledger, and physical cash. Run reconciliation at the end of each month or term.
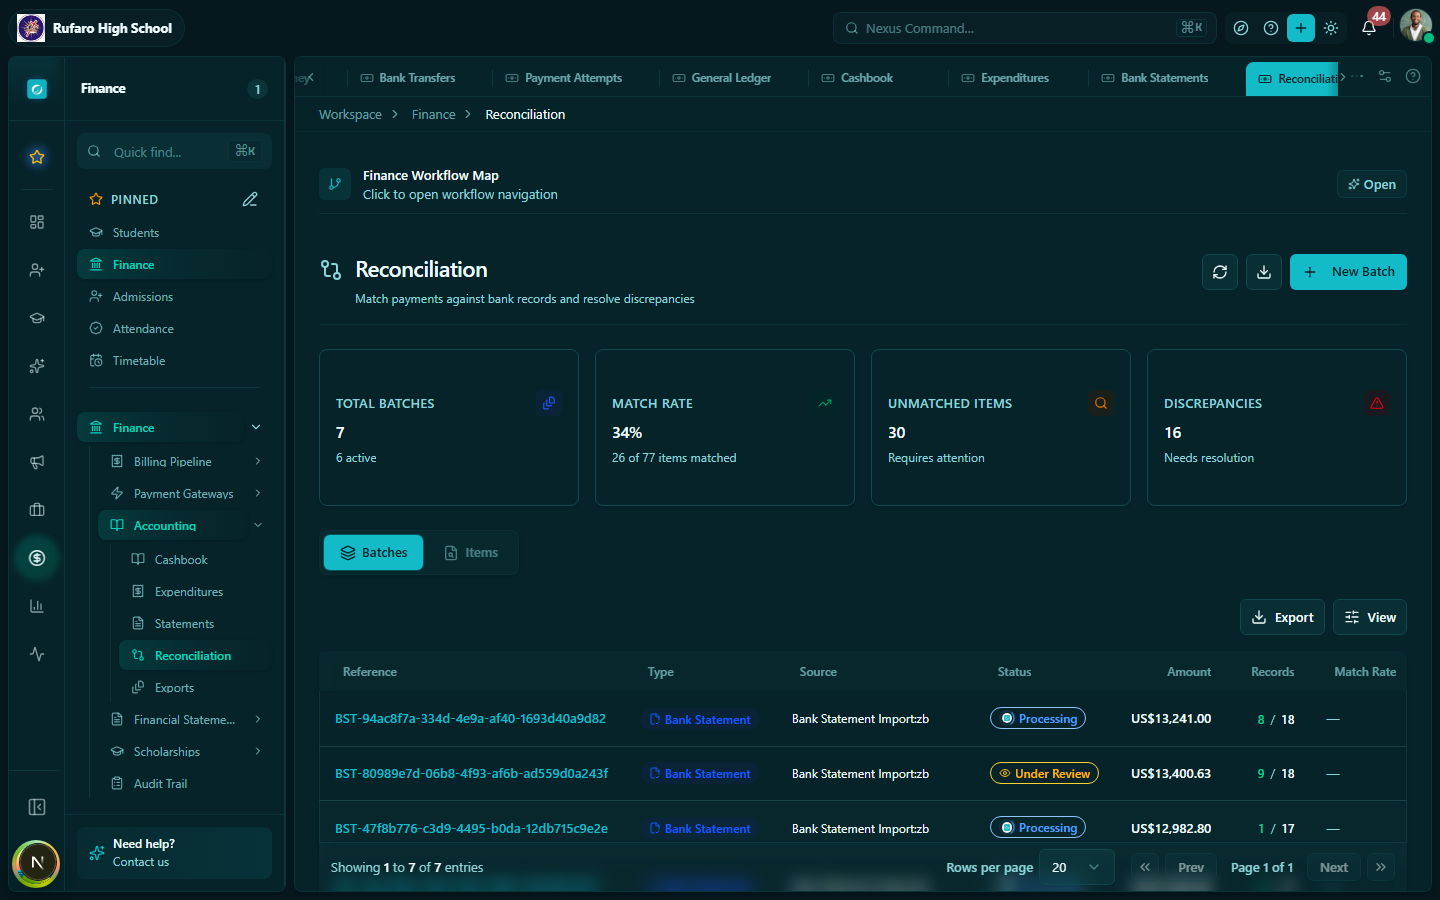
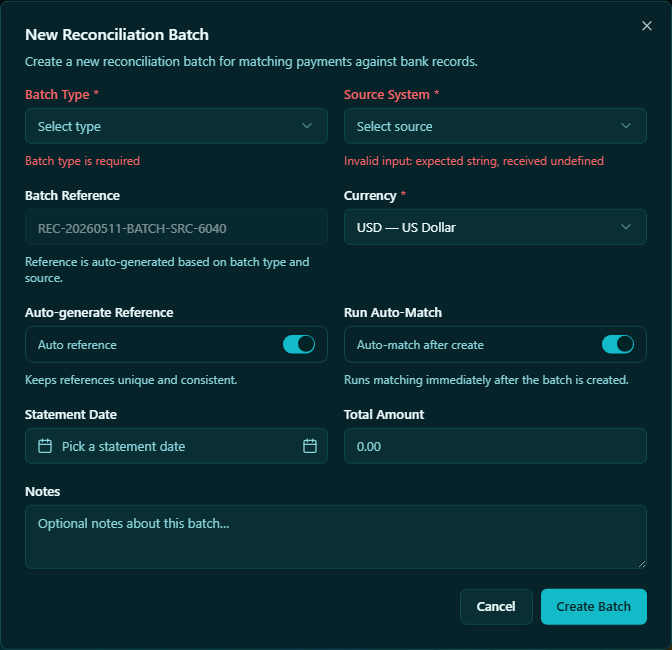
Running a reconciliation
- Click New Batch to start a new reconciliation batch
- Select:
- Bank account
- Statement end date (the closing date on your bank statement)
- Closing balance from the bank statement
- The system compares its records to the imported bank statement
- Items that match are automatically ticked off
- Manually tick off any remaining items
- The reconciliation is complete when the Difference shows $0.00
- Click Complete reconciliation
Reconciliation report
A completed reconciliation generates a report you can print or export as PDF — useful for audit purposes.
Tips for accurate accounting
- Import bank statements monthly — don't let them pile up; reconciling 3 months of unmatched transactions is time-consuming
- Record expenditures promptly — enter supplier invoices when you receive them, not just when you pay them
- Use descriptive references — when parents pay by bank transfer, ask them to use the student's name and invoice number so auto-matching works correctly
- Review the cashbook daily — a few minutes each morning catches errors before they compound