Library Management
The Library module gives your school a complete circulation system — from cataloguing books and tracking physical copies to processing checkouts, managing holds, and monitoring overdue items.
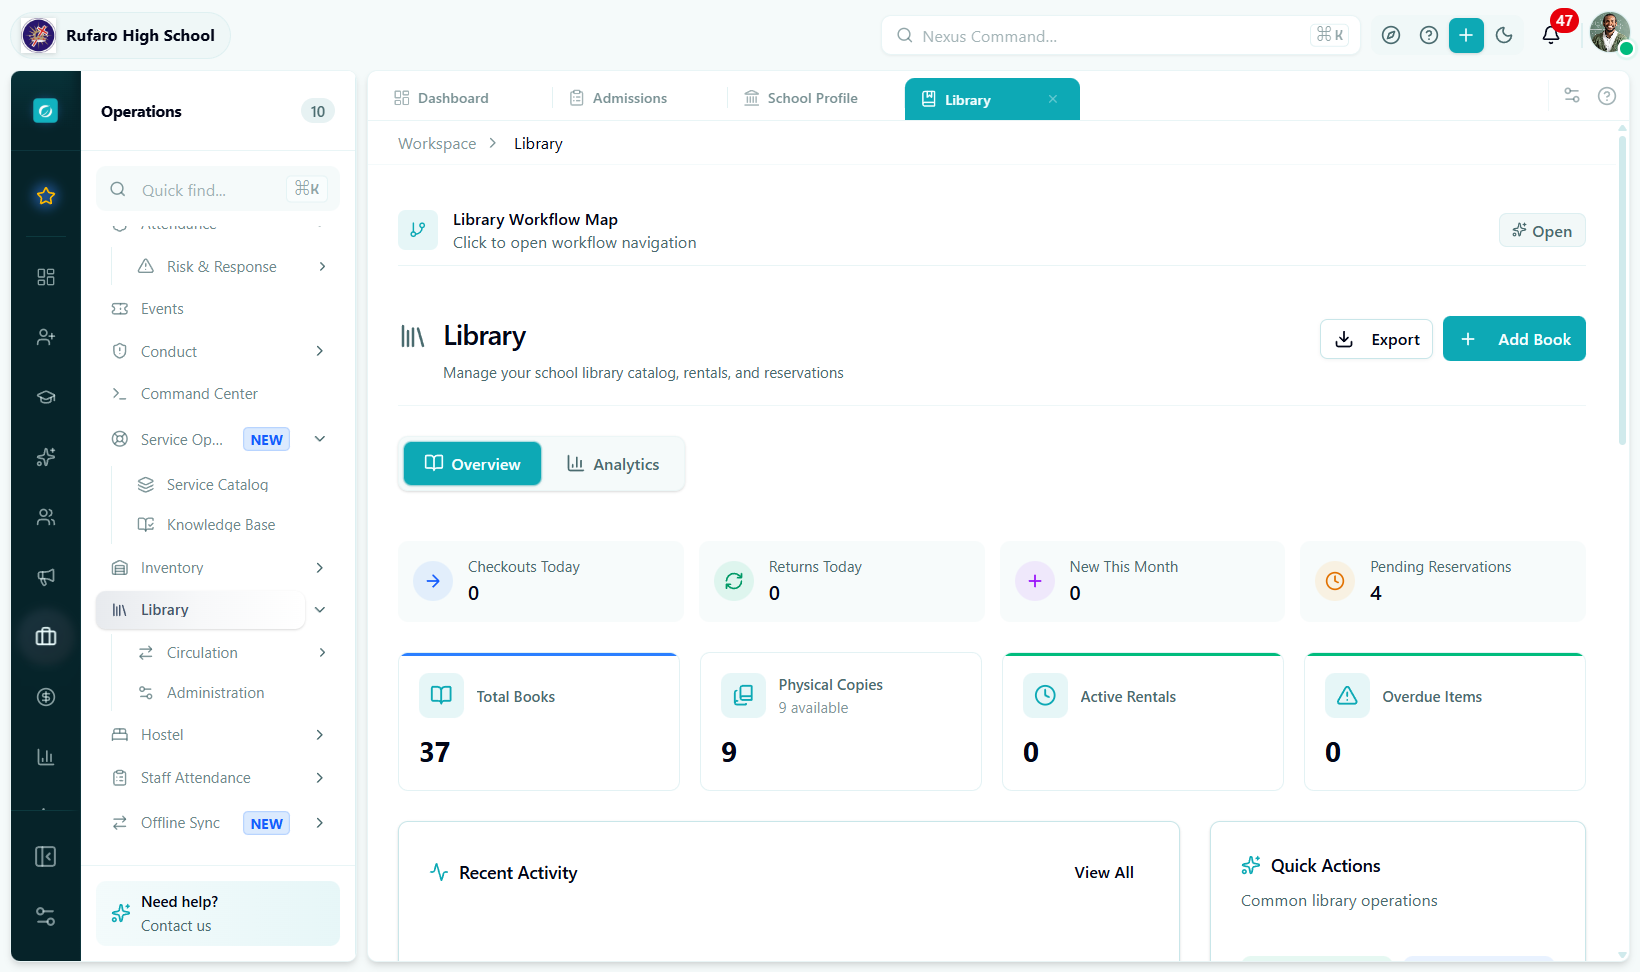
The Library workspace. Stat cards update as activity happens; the tab bar gives immediate access to every sub-section.
Where to find it
Navigate to Operations → Library in the left sidebar.
Operations (sidebar)
  └── Library
        ├── Dashboard       ← overview & quick actions
        ├── Books           ← book catalog
        ├── Copies          ← physical items
        ├── Rentals         ← checkouts & returns
        └── Reservations    ← hold requests
| Tab | URL segment | Purpose |
|---|---|---|
| Dashboard | operations/library | Live stats, overdue alerts, activity feed |
| Books | operations/library/books | Catalog management — add, edit, search titles |
| Copies | operations/library/copies | Physical item tracking by barcode / RFID |
| Rentals | operations/library/rentals | Checkout · return · renew · fee settlement |
| Reservations | operations/library/reservations | Hold queue management |
How everything fits together
Pages in this section
| Page | What it covers |
|---|---|
| Dashboard | Reading live metrics, overdue alerts, activity feed, and quick actions |
| Books | Adding titles, editing catalog records, Google Books import, and filters |
| Copies | Adding physical copies, bulk operations, condition tracking, and barcode management |
| Rentals | Processing checkouts and returns, renewals, lost items, and fee collection |
| Reservations | Creating holds, managing the pickup queue, and no-show handling |
| Reference | Permissions table, best practices checklist, and troubleshooting guide |
Quick start
- Check out a book
- Add a new book
- Process a return
- Create a reservation
- Go to Operations → Library → Rentals
- Click New Checkout
- Search for the book and select an available copy
- Search for the borrower (student or teacher)
- Confirm the due date and click Checkout
→ See Rentals for the full walkthrough.
- Go to Operations → Library → Books
- Click Add Book
- Enter the ISBN and click Search Google Books to auto-fill — or type details manually
- Set the access level and rental terms
- Click Save
→ See Books for the full walkthrough.
- Go to Operations → Library → Rentals
- Find the rental by borrower name or book title
- Click Return in the actions column
- Record the condition at return
- Review any fees and click Process Return
→ See Rentals for the full walkthrough.
- Go to Operations → Library → Reservations
- Click New Reservation
- Select the book and the requester
- Set a pickup location (optional)
- Click Save
→ See Reservations for the full walkthrough.